|
||||||||||||||||||||||||||||||||||||
|
|
||||||||||||||||||||||||||||||||||||
|
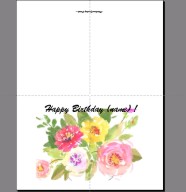
Forward Microsoft PowerPoint is a presentation package, right? Right! But it actually can also be used for much, much more. For the purpose of the hints here, consider it also to be an exceptional drawing package - and one that is also set up to handle a real-size printing format easily. That combination can be an extremely powerful added tool. Let us show some examples of how else we use PowerPoint and it may cause you to look at that software program in a new, fun light. We have used PowerPoint to make custom greeting cards, CD holder labels, and a myriad of other labels even more complex. We will illustrate some of the more straightforward usages. Greeting Cards Step one of course is to get the paper and envelopes that the greeting cards are to be printed on. That of course will tell us the target size that we have to work with. In the US, and specifically within California, I find that many of the office supply stores are selling "kits" to make greeting cards. These kits consist of 8.5 x 11 inch paper - that would be folded once in order to make greeting cards, plus the correct size envelopes. Such a kit would be a great start. If you are outside the US and have a different standard paper size, such as A4 that I know is used in Great Britain, see if your stores carry a similar kit with paper and envelopes that can be used. If you have such a kit, then making greeting cards can be easy. Easy since the paper is already the correct size for the envelopes and no cutting will be necessary. When making greeting cards in this manner, use "portrait" style - which shows the presentation higher than it is wide. It is also a good idea to use "guides" under "view" in the pull down menu such that PowerPoint will tell where the fold line on the card will be.
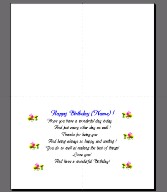
When done, it does take a little practice on printing it and folding it. You might need to run a sample card on less expensive paper that is the same size in order to get the alignment just right. It does seem that sometimes things have to be a little higher or lower than might be expected by looking at the PowerPoint image. And of course, it does take some practice to know which end of the card to feed in first when printing the back side of the page, and how to fold the paper well to get it done very well in half.. Best to practice on a less expensive paper while going through the learning, and then switch to the good paper when happy with the results. Remember that some times one has to wait for the printed ink to dry before handling the paper or folding it. Where does one get the pictures for the cards? A nice touch is to use family pictures. If one is simply looking for other pictures, some clip art is included with the PowerPoint package. Still more clip art is available free on the internet and can be copied and then pasted into your card. I find that the results of this can be great! Hope you enjoy it also! Customized greeting cards, as done with a very flexible drawing package called "PowerPoint".
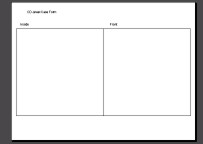
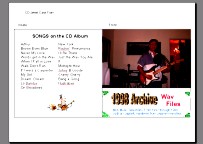
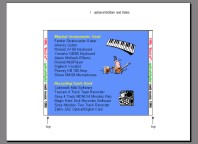
CD Holder Covers One can use PowerPoint to make covers - for their plastic CD holders - and therefore make their home made CD's look professional. In this case I am unaware of paper available that is exactly the right size. Because of that some cutting and trimming is needed. This is "not bad" for making a few covers, but of course this method would be difficult for making many covers or mass production. Still, it is a nice feature. You could decide to simply make a top cover for the CD holder, or you can go all out and include a bottom cover and side labeling also, as I often do. This section will show both. I find it best to setup the form that you need with the "Master" view of PowerPoint. This form will then automatically show up on each new sheet used inside the presentation. Since the shape of the front cover and back/side covers are different, I also found it easiest to use two separate PowerPoint files - one for each. Note that in this case one wishes PowerPoint to work in "landscape" view. Note also that working on the slide master can be done under "view" by selecting "master". You can delete the items that are there and replace them with masters shown below. Front View of the CD holder
Remember that after printing, one would carefully cut out the area surrounding the whole rectangle (both portions of front and inside squares). Then it would be folded and inserted into the CD cover. Rear View of the CD holder
Summary Hope that these hints provide a help to you! We hope also that these hints have shown new possibilities for your Ms Office Suite - and uses that go beyond the normal.
|
||||||||||||||||||||||||||||||||||||
|